

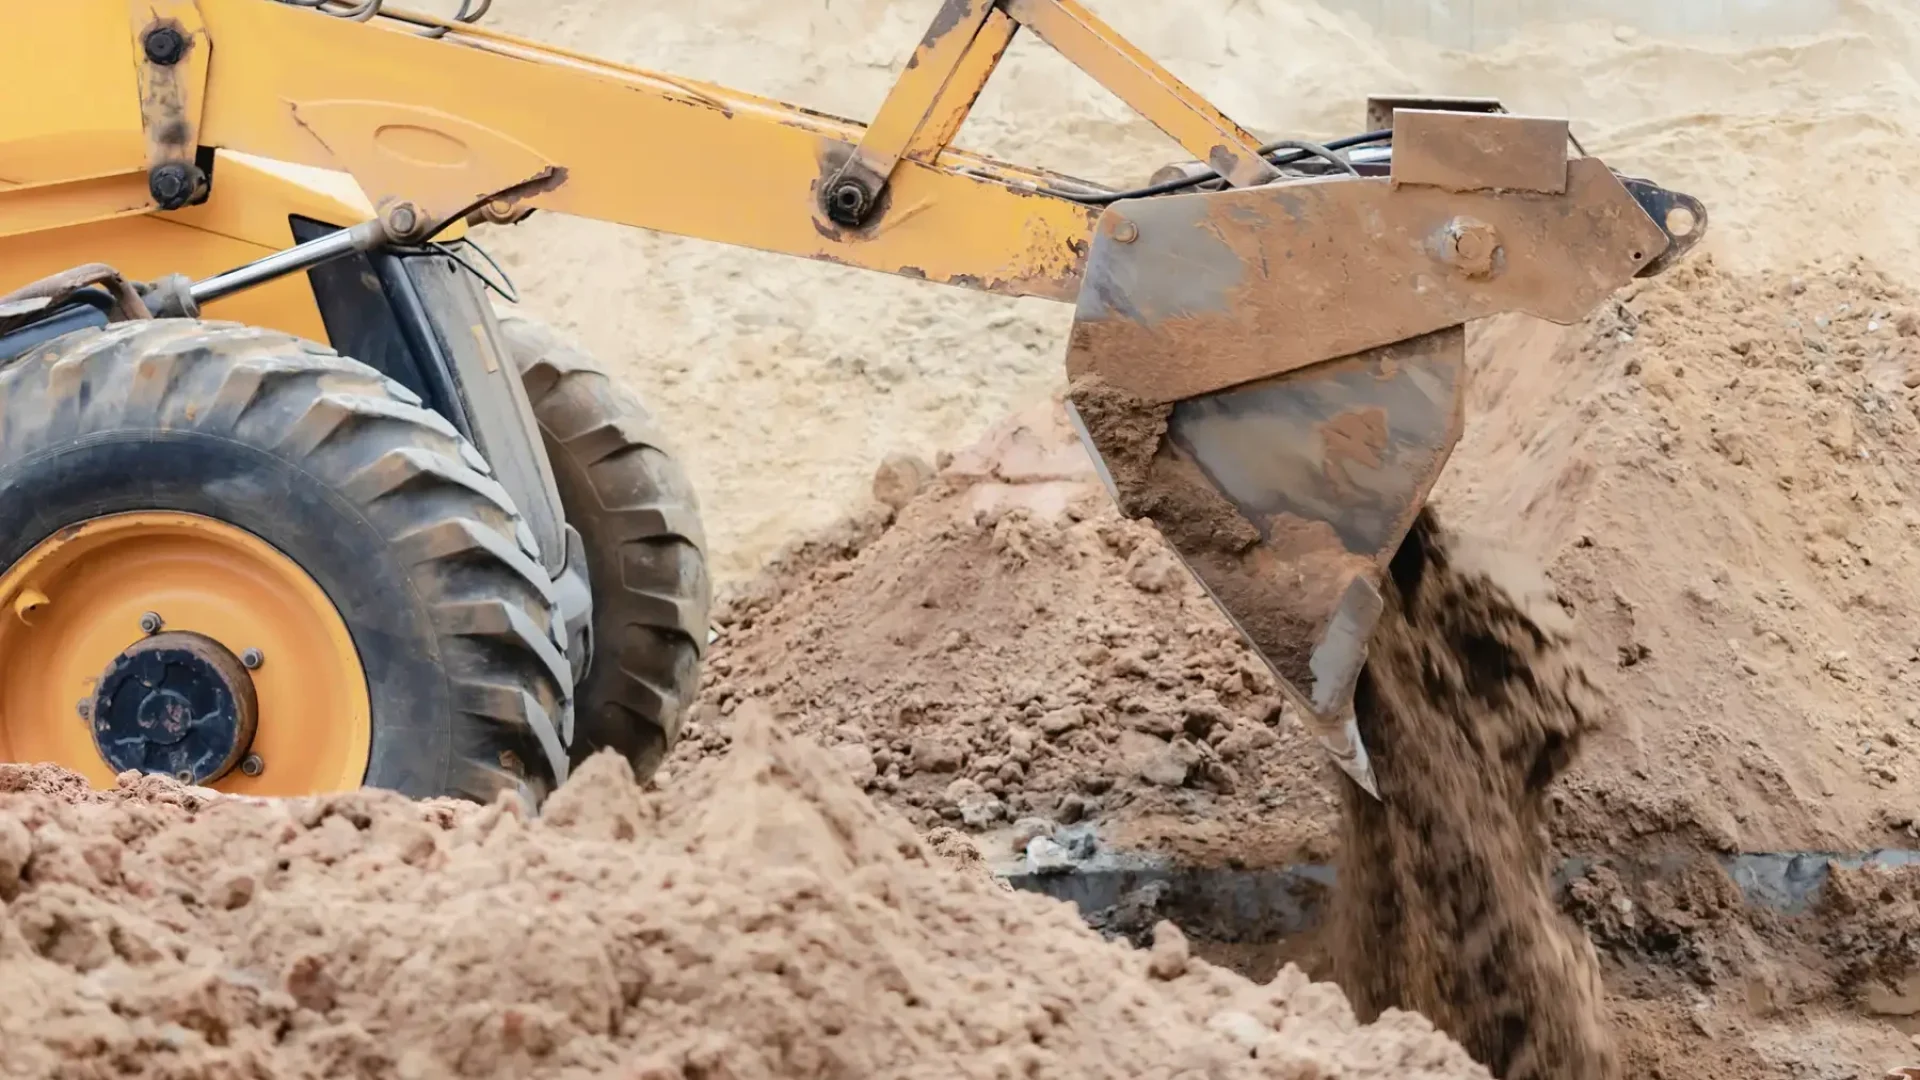
The excavator is booked for Friday at 7 AM. Your foundation walls cured 8 days. Your weeping tile is in. You’re ready to backfill — except you haven’t done the 9-item pre-backfill walk. Skip it now; pay 10–30× to fix any one of these items after the soil goes back in.
Backfill is the most expensive moment on a foundation to get wrong, because it’s the moment everything gets buried. Every item below is cheap to fix while the trench is open and brutal to fix once it’s full. After 38 years of pouring Calgary foundations, our crews can tell you the gap in the weeping tile is always at the corner the installer saved for last. Here’s the walk — nine items, in the order you check them, before anyone fires up the machine.
1. Foundation walls have reached design strength before backfill (about 70% of 28-day, verified)
A spec builder in Mahogany has the excavator booked and the forms have been off for four days. The concrete looks done. It is not done. “Looks cured” and “has reached the strength to take lateral backfill load” are two different things, and the gap between them is where cracked walls come from.
CSA A23.1:24 — the current edition of Canada’s concrete materials and construction standard — frames backfill timing around the wall reaching a strength sufficient to resist the lateral earth pressure it’s about to carry, commonly taken as roughly 70% of the specified 28-day design strength. The exact figure depends on your wall design, your mix, and your temperature history, so we don’t quote you a single universal MPa here — your engineer or your mix design sets the target. What matters is that the wall has verifiably reached it.
“Verifiably” is the operative word. There are two honest ways to know, and “it’s been a week” is not one of them. The first is a cylinder break: field cylinders cast at the pour, cured alongside the wall, and broken in a lab to confirm the number. The second is a maturity meter — a temperature sensor cast into the wall that tracks the time-temperature history and computes in-place strength. In a Calgary spring, where a warm afternoon can swing thirty degrees into a frost overnight, the calendar lies and the temperature record tells the truth.
The trap is the early-frost window. Fresh concrete needs to reach roughly 7 MPa before its first freeze just to survive the freeze without permanent damage — and surviving a frost is a far lower bar than being ready for backfill. Hitting 7 MPa keeps the concrete from being wrecked; it does not mean the wall can hold back a wall of clay. Don’t confuse the two thresholds. Backfill waits for design-strength verification, not frost survival. Strength is item one because everything else assumes the wall can take the load. The next item is what keeps water off that wall for the next forty years.
Before backfill day even arrives, make sure your contractor’s scope actually includes every critical item. Our guide to 9 line items that should be on every Calgary foundation quote explains which costs are frequently omitted from quotes and later appear as change orders.
2. Damp-proofing applied continuously to all below-grade walls
A custom-build site super in Auburn Bay walks the foundation the night before backfill and finds the damp-proofing stops about 200 mm short of grade on the north wall — the sprayer ran out and nobody went back. That 200 mm gap is the exact band where soil moisture will sit against bare concrete for the life of the house.
NBC(AE) 2023 Part 9.13 requires damp-proofing on the exterior of below-grade walls enclosing habitable or basement space. The job of damp-proofing is to stop capillary moisture in the surrounding soil from wicking through the concrete and into the basement. On a Calgary clay lot, where the soil holds water against the wall through every wet spring and every thaw, that membrane is not optional finish work — it’s the wall’s raincoat.
The word that matters on the inspection is continuous. The failures are never the big obvious wall face; they’re the misses. The cold-joint band where the crew changed buckets. The 150 mm above the footing that the sprayer couldn’t reach standing up. The form-tie holes that didn’t get dabbed. The wall penetrations where the membrane stops short of the sleeve. Walk the whole perimeter with your eyes at the concrete, not at your phone, and look specifically for where the coating thins, skips, or stops.
Damp-proofing is also the layer most likely to get nicked during the rest of the pre-backfill work — by a boot, by the dimple-board crew, by the plumber. So it gets checked, and then it gets checked again after the membrane and drainage layers go on, because the last person to touch the wall is the one who tears it. Damp-proofing resists moisture by contact. The next layer creates an air gap so water never gets the chance.
3. Dimple-board drainage membrane installed from footing to grade
A GC coordinating a two-storey infill in Killarney finds the dimple board installed dimples-out — pressed flat against the wall with the air gap facing the soil. Installed backwards, it does close to nothing. The dimples have to face the wall to hold the drainage cavity open.
NBC(AE) 2023 Part 9.14 governs foundation drainage, and the dimple-board (dimpled drainage membrane) is the modern workhorse of that system. Its job is to create a continuous air gap between the soil and the damp-proofed wall, so any water that reaches the wall face runs straight down the cavity to the weeping tile instead of soaking in. It also protects the damp-proofing from getting abraded by the backfill. On Calgary clay, that drainage cavity is what turns hydrostatic pressure against the wall into water moving harmlessly down to the drain.
The pre-backfill check on dimple board is four things. Orientation: dimples toward the wall, gap intact. Coverage: it runs from footing level up to grade with no bare bands. Termination: the top edge is fastened and, on most details, capped or flashed so backfill and surface water don’t pour in behind it from the top. Laps: side and end laps run in the shedding direction and are sealed or overlapped per the manufacturer’s detail so the sheet drains as one surface, not as disconnected panels.
The corners and the inside step-downs are where coverage gets thin — same story as the weeping tile. A panel that’s tight across the flat wall and gapped at the corner is a panel that drains 90% of the wall and leaves the worst 10% — the re-entrant corner where water concentrates — undrained. Membrane handles the water on the wall face. The next item is the pipe that carries it away.
4. Weeping tile installed continuously around the perimeter at footing level
A spec builder in Legacy has weeping tile down all four sides — but it doesn’t connect at the southeast corner, where two crews working from opposite directions never tied their runs together. Water that reaches that corner has nowhere to go. It pools, it builds head against the footing, and in March it freezes and heaves.
NBC(AE) 2023 Part 9.14 requires drainage at the footing of below-grade walls, and weeping tile (perforated drainage pipe) is the standard means. The pipe sits at footing level, runs continuously around the full perimeter, and discharges to a positive outlet — a sump pit, a daylight outlet, or a storm connection. Its single job is to collect the water the dimple board sheds and move it away before it can sit against the foundation. A weeping tile that doesn’t make a complete, connected loop to a real outlet is not a drainage system; it’s a buried pipe.
The pre-backfill check is about continuity and fall. Continuity: the loop is complete, every corner is connected, and the line ties into an outlet that actually drains. Fall: the pipe slopes toward the outlet — no bellies, no back-pitched sections where water stands. Position: the tile sits at or just below the top of footing, beside it, not on top of it and not floating up in the backfill. Outlet: the sump or daylight discharge is real, open, and not capped off “for now.”
After 38 years, the gap in the weeping tile is always at the corner the installer saved for last — the one they meant to come back and tie in. Walk all four corners. Confirm the loop closes. A foundation drainage system is only as good as its weakest joint, and the weakest joint is almost always the last one made. The pipe carries water. The next item is what keeps the pipe from silting shut.
Much of this checklist exists because Calgary soils behave differently than many homeowners expect. Our guide to 6 Calgary Soils That Will Crack Your Foundation in 5 Years explains how expansive clays, moisture-sensitive soils, and other local ground conditions affect drainage, backfill, and long-term foundation performance.
5. Clean granular cover over the weeping tile (150 mm minimum, washed 19 mm stone)
A custom-build super in Bearspaw watches the excavator operator start pushing native clay straight over the freshly laid weeping tile to “save a load of gravel.” That clay is the thing the weeping tile exists to be protected from. Cover the pipe in clay and you’ve installed a drain and then immediately plugged it.
Good drainage practice — reflected in NBC(AE) 2023 Part 9.14 and in Concrete Alberta’s drainage guidance — calls for the weeping tile to be bedded in and covered with clean, free-draining granular material so water can reach the pipe and silt can’t choke it. A common specification is at least 150 mm of washed 19 mm (¾”) clear stone over the top of the pipe, with the stone wrapped in a filter fabric where fines could migrate in. The clean stone keeps an open, high-permeability path to the pipe; the fabric keeps the surrounding clay from washing into the voids and slowly sealing it off.
The pre-backfill check is simple to eyeball and easy to skip. Is the pipe actually covered with clean stone, not site spoil? Is there enough of it — a real 150 mm, not a dusting? Is the stone clean — washed clear stone, not crusher fines or pit-run full of sand? Is the filter fabric in place where the detail calls for it, lapped and not torn? On a Calgary clay lot, the difference between clean stone and “whatever was on site” is the difference between a drain that works for forty years and one that’s silted shut in five.
This is also the cheapest item on the whole walk to fix now and one of the most expensive to fix later — because fixing it later means re-excavating the perimeter you’re about to bury. A load of clear stone is a rounding error against digging the foundation back up. Granular cover protects the drainage. The next three items are the things that pass through the foundation — and every one of them is a leak path if it’s not protected before backfill.
6. Plumbing penetrations through the footing protected (sleeves, bedding)
A spec builder in Seton has the under-slab plumbing roughed in and the building drain runs out through the footing to the city connection. The pipe passes straight through the concrete with no sleeve — concrete cast tight around plastic pipe. When the backfill settles and the pipe deflects, that hard contact point is where it cracks.
Where a plumbing line passes through or under a footing, it needs to be sleeved and properly bedded so the pipe is isolated from the concrete and supported on stable material — not pinched by the footing above and not left to span an unsupported gap below. CSA B64.10 governs the cross-connection and backflow side of the plumbing, and the relevant plumbing code provisions govern how a drain passes through a foundation element; the practical point on the pre-backfill walk is that the penetration is protected before it’s buried. A sleeve lets the pipe move independently of the footing; proper bedding keeps the line from settling into a void and back-pitching.
The check: every pipe through the footing runs in a sleeve with clearance around it, not cast hard into the concrete. The bedding under the pipe is compacted granular, not loose spoil or, worse, a hollow the pipe bridges over. The pipe is at the right invert and slope before anyone covers it. Any annular space at the sleeve is sealed per the detail so soil and water don’t track along the pipe into the building.
This one is invisible the instant the trench is full, and a cracked or back-pitched building drain under a backfilled foundation is a tear-out-the-floor repair, not a service call. That’s the 10–30× math in one item. Protect the plumbing penetration now or pay to find it later. The plumbing is one service through the foundation. The next is electrical.
7. Electrical service stub-up sealed and protected
A custom-build site super in Cochrane has the electrical service conduit stubbed up where ENMAX or FortisAlberta — the actual Calgary-area electrical utilities — will land the service. The conduit is open at the top, sitting in the backfill zone, with no cap and no seal. Backfill goes in, soil and water pour down the conduit, and the service run is fouled before the meter’s even set.
The electrical service stub-up — the conduit that carries the incoming service from the utility’s point to the building — has to be capped, sealed, and physically protected before backfill. An open conduit in a backfill zone is a funnel: it takes soil, water, and stone straight down the raceway. A conduit that gets crushed or sheared by the excavator bucket is a conduit you’re re-trenching for. Naming the utility matters here only so you confirm the stub-up is roughed to the right standard and location for whichever utility serves your lot — confirm the requirement with ENMAX or FortisAlberta for your specific site.
The check: the conduit is capped or plugged at the open end so nothing falls in. The stub-up is at the right location and height for the service the utility expects. The conduit is supported and protected where the bucket will swing — flagged, sleeved, or boxed so it doesn’t get hooked. Any below-grade conduit penetration through the wall is sealed against water the same way the plumbing is. And, like the damp-proofing, you re-confirm it’s still capped after the machine has been working nearby, because the cap that was on this morning is the cap that gets knocked off this afternoon.
A fouled or crushed service conduit is a buried-utility repair on a live site — expensive, schedule-wrecking, and entirely avoidable with a cap and a flag. Electrical is service number two. The third thing through your slab is the one most likely to be missed entirely, because you can’t see it doing its job: radon.
8. Radon riser capped and labelled
A spec builder in Evanston has the sub-slab radon rough-in installed — the perforated pipe in the gas-permeable layer under the slab, the riser run up to discharge. But the riser is open and unlabelled, sitting in the work zone. Backfill and slab prep debris drop straight into it, plugging the very rough-in the code now requires, and nobody can tell it apart from a plumbing stub.
NBC(AE) 2023, as clarified by the Government of Alberta’s STANDATA interpretations, requires a radon rough-in — the sub-slab depressurization provisions — in new housing, so that a fan can be added later to vent soil gas if testing calls for it. CARST (the Canadian Association of Radon Scientists and Technologists) publishes the best-practice guidance behind it. Calgary and much of southern Alberta sit in elevated-radon geology, which is exactly why the rough-in is now baseline. The riser is the spine of that system: if it’s plugged at the rough-in stage, the whole provision is defeated before the house is even closed in.
The pre-backfill (and pre-slab) check is two simple things, and they’re the two most often skipped. Cap it: the riser is sealed at the open end so no concrete, soil, or debris can fall in and choke it. Label it: the riser is clearly marked “RADON” — not left as an anonymous pipe that the next trade mistakes for plumbing, caps off permanently, or ties into the wrong thing. A capped, labelled riser is a rough-in that survives the rest of construction. An open, unlabelled one is a callback waiting to happen and, increasingly, an inspection item that holds up your occupancy.
For the full line-item breakdown of what the radon rough-in itself has to include under your slab, see our companion piece below. Radon is the last of the three pass-throughs. The ninth item isn’t a thing you install — it’s the record that proves the other eight were done.
9. Photo-documentation walk plus sign-off (engineer or site super)
A GC on an infill project in Bridgeland backfills on schedule, the house gets built, and eighteen months later a basement-moisture claim lands. The question from the warranty program is simple: show us the foundation was drained and damp-proofed correctly before backfill. If the only answer is “we did it right, trust us,” that’s not an answer — that’s an argument you’re going to lose.
The ninth item is the one that protects you after the soil is back in: a documented pre-backfill walk with photos and a sign-off. Before the excavator moves, someone — the engineer of record on a stamped job, or the site superintendent on a prescriptive one — walks the perimeter and photographs the state of items one through eight: the strength verification record, the continuous damp-proofing, the dimple board, the connected weeping tile and its outlet, the clean granular cover, the protected plumbing penetration, the capped service conduit, and the capped, labelled radon riser. The photos are dated, the walk is signed off, and the record is filed with the project.
This isn’t bureaucracy; it’s the cheapest insurance on the job. APEGA’s Practice Standard for Building Foundations puts the engineer of record’s site reviews at the critical stages, and pre-backfill is one of them on an engineered foundation — the engineer confirms the field matches the stamped drawings before any of it gets buried. On a Part 9 prescriptive house, the site super carries that responsibility. Either way, the Alberta New Home Warranty Program’s claim and documentation guidance makes the same point from the other side: when something is buried, the photo of it being done right is what closes the claim.
The City of Calgary’s Building & Land Use Inspections — including its streamlined inspection options such as the Quick Trench Program for certain trench and drainage work — set the inspection framework; confirm current eligibility and what each inspection covers on calgary.ca, and don’t assume a program applies to your job until the City says it does.
That’s the nine. The honest framing on the cost: industry experience puts the fix-it-later penalty on any one of these buried items at roughly 10–30× the cost of fixing it while the trench is open — re-excavation, demolition, rework, and schedule loss stacked on top of the original cheap fix. Treat that 10–30× as an industry estimate and validate any specific dollar figure against current Calgary quotes; the point isn’t the exact multiple, it’s the direction. Nine items, one open trench, one short walk with a camera. The excavator can wait twenty minutes for that. It cannot un-bury a mistake.
FAQ
Q1: What does a Calgary pre-backfill foundation inspection check? It checks the nine things that get buried at backfill and are expensive to fix afterward: verified wall strength (about 70% of 28-day per CSA A23.1:24), continuous damp-proofing (NBC(AE) 2023 Part 9.13), the dimple-board drainage membrane, a continuous weeping tile connected to a real outlet (NBC(AE) 2023 Part 9.14), clean granular cover over the tile, protected plumbing penetrations, a sealed and protected electrical service stub-up, a capped and labelled radon riser, and a dated photo walk with sign-off. The walk happens while the trench is still open, before the excavator backfills.
Q2: When can I backfill against a freshly poured foundation wall? When the wall has verifiably reached the strength to resist lateral backfill load — commonly taken as roughly 70% of the specified 28-day design strength under CSA A23.1:24, with the exact target set by your wall design and mix. “Verifiably” means a cylinder break or a maturity meter, not a calendar count. Note that the roughly 7 MPa needed to survive an early frost is a much lower bar than backfill-readiness — surviving a freeze is not the same as being ready to hold back soil. In a Calgary spring, trust the strength data, not the number of days.
Q3: Do I need an engineer’s sign-off before backfill in Calgary? On an engineered foundation (a stamped job), yes — APEGA’s Practice Standard for Building Foundations puts the engineer of record’s site reviews at the critical stages, and pre-backfill is one of them; the engineer confirms the field matches the stamped drawings before anything is buried. On a Part 9 prescriptive house, the site superintendent carries the pre-backfill check and the documentation. Either way, the Alberta New Home Warranty Program’s guidance makes a dated photo record the thing that protects you if a buried-foundation claim ever comes up.
Q4: What is the City of Calgary Quick Trench Program? It is a City of Calgary streamlined inspection option administered through Building & Land Use Inspections, intended to speed up inspections for certain trench and drainage work rather than replace them. Eligibility, scope, and how it interacts with your other foundation inspections change over time, so confirm the current rules directly on calgary.ca for your specific project before you rely on it. Don’t assume it applies to your job until the City confirms it does.
Q5: Can I backfill with native Calgary clay? Not against the wall, and not over the weeping tile. Calgary’s smectite-rich clays swell when wet and push a higher lateral load onto the foundation wall, and clay packed over the weeping tile silts the drain shut. Good practice (reflected in NBC(AE) 2023 Part 9.14 and Concrete Alberta drainage guidance) is clean, free-draining granular against the drainage layer and at least 150 mm of clean washed stone over the tile, with native clay kept out of those zones. Where and how native material can be reused elsewhere in the backfill is a question for your engineer or your geotech.
Q6: What’s the most common item to fail a pre-backfill walk? The drainage continuity at a corner — the weeping tile or dimple board that’s tight across the flat walls and gapped or disconnected at a re-entrant corner, which is exactly where water concentrates. After 38 years of Calgary foundations, that’s the one our crews check first. Close behind it are the buried pass-throughs: an unsleeved plumbing penetration, an open electrical service conduit, and an uncapped, unlabelled radon riser — each invisible the moment the trench is full and each a major repair to reach afterward.
Sources
- National Building Code (Alberta Edition) 2023 — Part 9.13 (damp-proofing) + Part 9.14 (drainage) — https://www.alberta.ca
- CSA A23.1:24 — Concrete materials and methods of concrete construction (minimum strength before backfill) — https://www.csagroup.org
- APEGA — Practice Standard for Building Foundations (engineer site reviews) — https://www.apega.ca
- Alberta New Home Warranty Program (ANHWP) — claim & documentation guidance — https://anhwp.com
- Concrete Alberta — cold-weather + drainage practice — https://concretealberta.ca
- City of Calgary — Building & Land Use Inspections (Quick Trench Program) — https://www.calgary.ca
- Government of Alberta — NBC(AE) STANDATA (radon rough-in interpretations) — https://www.alberta.ca
- CARST — Canadian Association of Radon Scientists and Technologists (radon best practice) — https://carst.ca
- CSA B64.10 — Selection and installation of backflow preventers (plumbing cross-reference) — https://www.csagroup.org
About Omega 2000 Cribbing
Omega 2000 Cribbing has formed, placed, and finished foundations across Calgary and surrounding communities since 1988. We treat the pre-backfill walk as part of how a foundation is built right — because the cheapest time to fix any of these nine items is while the trench is still open.
Before the Excavator Starts, Walk the Foundation With Someone Who Builds Them Every Day
Backfill hides every mistake. A missed drainage connection, damaged damp-proofing membrane, or uncovered service penetration can cost thousands to uncover later.
If you’re building a new home or replacing a foundation in Calgary, Omega 2000 Cribbing can perform a complete pre-backfill review before the trench is closed. We’ll verify drainage, waterproofing, wall readiness, service penetrations, and the other critical items that should be confirmed before the excavator starts.
Book a foundation consultation today and make sure the only thing getting buried is the trench—not an expensive repair.